





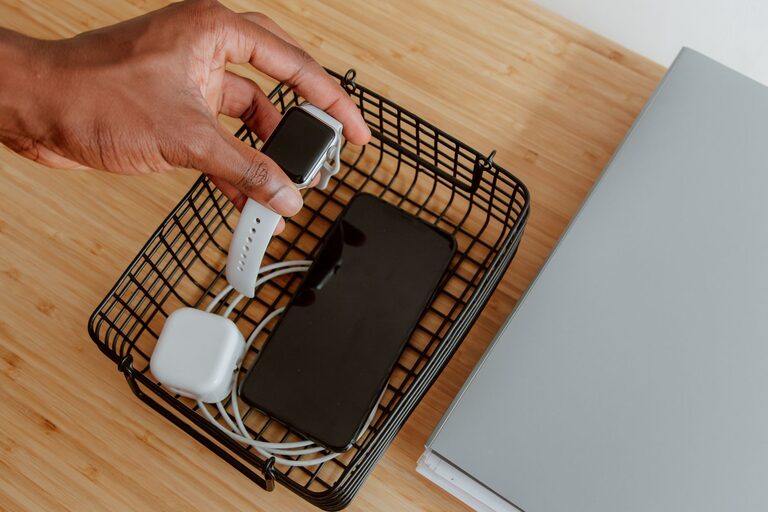
Setting up a dedicated charging station for your devices can simplify your daily routine and keep your gadgets powered and ready to use. Whether you have smartphones, tablets, laptops, or other rechargeable devices, a well-organized charging area helps reduce clutter, saves space, and extends the life of your cables and chargers.
In this guide, we’ll explore how to design and build an effective charging station tailored to your needs.
Why You Need a Charging Station
Devices multiply quickly in most households. Without a central spot to charge them, cords can become tangled, chargers misplaced, and devices may not get the power they need. Benefits of a charging station include:
– Centralized location for all devices
– Reduced cable clutter and tangles
– Easier to monitor charging status
– Safer power management with surge protection
– Cleaner and more organized space
Step 1: Choose the Right Location
Selecting the ideal spot for your charging station is the first step. Consider these factors:
– Accessibility: Pick a place everyone in your home can easily reach, like a kitchen counter, living room table, or a home office desk.
– Power outlets: Ensure the location has enough power outlets or the capacity to add power strips safely.
– Ventilation: Avoid enclosed spaces that might cause chargers or devices to overheat.
– Visibility: A visible area helps remind you to charge devices regularly.
Some popular locations include a small table near the entryway, a shelf by the desk, or a dedicated drawer with built-in charging.
Step 2: Gather Your Supplies
Before you start setting up, collect the following items:
– Power strip or surge protector: Get one with enough outlets and preferably USB ports.
– Charging cables: Use high-quality cables compatible with your devices.
– Charging stand or dock: Optional but helpful to keep devices upright and organized.
– Cable organizers: Clips, ties, sleeves, or boxes to reduce tangling.
– Storage container or tray: To hold smaller accessories like earbuds or adapters.
– Labeling materials: Stickers or tags to keep track of cables and devices.
Step 3: Plan Your Layout
Arrange devices and cables to maximize efficiency:
– Group devices by type (phones, tablets, wearables).
– Separate cables by length or purpose.
– Position chargers and power strips to avoid stretching cords across walkways.
Sketch a simple layout before assembling to visualize where everything will go.
Step 4: Set Up Power and Cable Management
Now it’s time to bring the station together.
Using a power strip or surge protector
– Plug your power strip into the wall outlet.
– Connect all charging bricks or devices with USB plugs.
– Ensure the strip is placed where cords can reach without tension.
Organizing cables
– Use cable clips or ties to bundle excess length.
– Label each cable to identify which device it belongs to.
– Run cables through organizers or sleeves to keep them neat.
Mounting or placing charging stands
– Place stands where devices can sit securely.
– Mount the power strip under a desk or on a wall if needed to save surface space.
Step 5: Personalize and Maintain Your Station
Make the station your own:
– Add small decorative touches like a mat or a tray.
– Keep a small box nearby for spare chargers or batteries.
– Periodically check cables for wear and replace them if needed.
– Clean the area and devices regularly to prevent dust buildup.
Additional Tips
– Wireless charging pads: Consider adding wireless chargers for compatible devices to reduce cable use.
– Portable chargers: Store power banks in the station for on-the-go charging.
– Label outlets: Mark outlets for specific devices to simplify plugs and unplugging.
– Child safety: If you have children, ensure cords and chargers are out of reach or use safety covers.
Conclusion
A charging station is a simple yet effective solution to keep your devices ready to use and your space organized. By choosing the right location, gathering the right tools, and organizing cables thoughtfully, you can create a charging hub that suits your lifestyle and reduces daily hassle. Start with the basics, then personalize your setup for maximum convenience and style.
Give your gadgets a home where they can recharge safely and neatly—your future self will thank you!




More Stories